
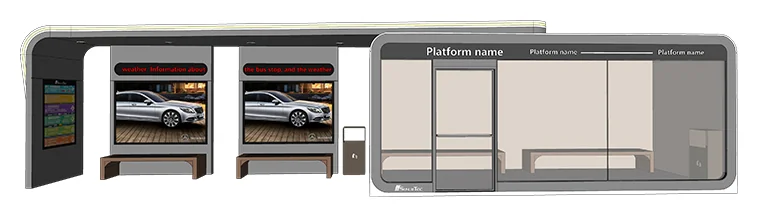
Good bus shelter design starts with how passengers reach the stop, wait, see the approaching bus, and board. Choose the structure after those movements are mapped. A shelter that looks suitable in isolation can still obstruct a sidewalk, hide waiting passengers, or place its entrance away from the boarding area.
For transit agencies, property owners, and procurement teams, the useful starting document is a coordinated site plan. It should show passenger space, the accessible route, vehicle operations, utilities, and maintenance access. That plan makes shelter proposals comparable and exposes problems before a particular cabin or enclosure is ordered.
Start with the stop and its users
Record the stop's purpose, operating hours, typical waiting population, and busy periods. A commuter stop with short, frequent queues has different needs from a hospital shuttle stop where passengers may wait longer with mobility devices or companions. Observe the site at relevant times rather than relying only on an empty-site photograph.
Mark the curb, bus doors, nearby crossings, entrances, cycle routes, street furniture, and existing signs. Ask the transit operator where the vehicle should stop and which boarding arrangements must remain available. A location attractive to the property owner may conflict with the operator's actual stopping position.
The bus shelter planning principles from Project for Public Spaces connect visibility, accessibility, comfort, and information. Use these as design considerations; applicable local requirements and current transit-agency standards should determine the final arrangement. General design advice does not replace a site-specific review.
Keep waiting, walking, and boarding spaces distinct
Draw three activities separately: pedestrians passing the stop, passengers waiting, and passengers moving toward a bus door. Then test what happens when all three occur together. People standing outside the shelter during a busy period should not force through pedestrians into the road or a bicycle path.
Maintain the required accessible route and boarding area through the completed installation. Consider wheelchair maneuvering, doors that swing into circulation space, and the space occupied by seats, bins, and equipment. The available shelter footprint is what remains after these requirements are resolved, rather than the full paved area beside the curb.
Sightlines need a two-way check. Passengers should be able to see an approaching bus without leaving a safe waiting position, and drivers should be able to recognize people waiting. Assess the impact of opaque panels, advertising, vegetation, parked vehicles, and nighttime reflections. More glazing alone does not resolve every visibility problem.
Determine bus shelter size from a usable plan
Bus shelter size should reflect usable waiting space, passenger demand, and site constraints. Exterior dimensions are insufficient because wall thickness, seating, doors, and equipment reduce the interior area available to people. Compare scaled plans showing these elements in their proposed positions.
Include passengers with luggage, strollers, or mobility devices in the planning assumptions. Check both seated and standing use. A layout with many seats can leave too little flexible space, while a largely empty enclosure may provide poor support for passengers who cannot comfortably stand.
There is no single dimension that makes every bus stop shelter design appropriate. Document the expected demand, then ask the responsible designer or authority to check capacity and circulation against the relevant requirements. If the site is constrained, consider whether a different seating arrangement or shelter form is more appropriate than reducing essential clear space.
Choose enclosure and comfort features for the climate
An open shelter, a partly screened structure, and an enclosed bus shelter offer different relationships between weather protection, visibility, access, and operation. Evaluate prevailing rain and wind, summer sun, seasonal temperatures, and the direction passengers approach. Avoid selecting an enclosure solely from a catalog image taken in favorable weather.
More enclosure introduces additional questions. Who controls the doors? How is overheating addressed? How will condensation, drainage, cleaning, and ventilation be managed? Heating or cooling, if proposed, also requires a defined power supply and an operating budget. Equipment availability and performance must be confirmed for the actual configuration.
Test comfort features against the site plan. A screen should be readable without creating a queue at the entrance. Charging points should not place cables across circulation routes. Lighting should support waiting and boarding without creating distracting glare for drivers. Treat these as coordinated systems rather than independent accessories.
Coordinate structure, power, drainage, and upkeep
Before approving a structure, establish who is responsible for foundation design, ground conditions, anchoring, utility connections, and installation. Local structural criteria, including applicable wind and snow loads, require review for the specific location. A movable or prefabricated structure still needs a suitable installation plan.
Show water movement around and away from entrances. A covered waiting space is less useful when runoff collects at the threshold or the approach becomes slippery. Coordinate roof drainage with sidewalks, neighboring property, and the site's maintenance practices. Snow storage, where relevant, should not occupy accessible routes.
Agree on electrical scope before requesting illuminated signs, screens, outlets, or environmental controls. Identify the supply point, installation responsibility, metering arrangement, and access for maintenance. Do not assume that listing an electrical feature means external cabling, local approval, or ongoing connectivity is included.
Make routine care practical. Check access to glazing, lamps, filters if fitted, fasteners, and replaceable panels. Assign responsibility for waste collection, graffiti removal, fault reporting, and damage response. A maintenance schedule should reflect actual passenger use and exposure, with inspections adjusted when recurring problems appear.
Turn the bus shelter design into a procurement brief
A useful brief gives suppliers enough information to identify configuration limits before quoting. Send a marked site plan with photographs, passenger assumptions, the intended boarding position, climate information, utility availability, and the approval process. State whether the requested price covers the structure only or a wider installation scope.
For the supplier comparison, request:
- Overall and usable dimensions, door positions, seating, and equipment locations on one drawing.
- Materials, finish options, and the proposed approach to exposed components.
- Configuration-specific structural information for local professional review.
- Electrical loads and a clear boundary between factory provision and site work.
- Delivery access, unloading needs, installation responsibilities, and maintenance information.
SunlitTec's Apple Cabin bus station provides a product starting point for cabin-style waiting space. Screens, charging facilities, heated seating, and other listed features should be confirmed in the quotation and approved drawing. Their presence in a product description does not establish suitability for a particular stop.
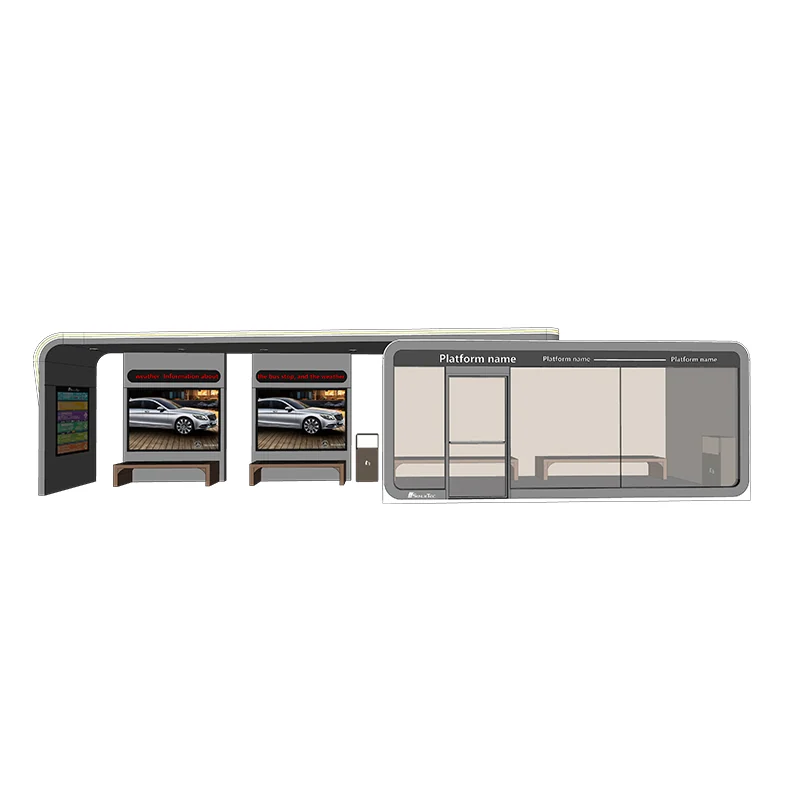
For a project involving several public facilities, the public and commercial application range can help organize a coordinated inquiry. Keep the bus shelter's passenger-flow requirements separate from those of other structures. SunlitTec proposals should be assessed against the same site brief and local review process as other options.
Conclusion
A workable bus shelter design aligns the structure with passenger movement, accessible boarding, local weather, and ongoing maintenance. Resolve the usable site envelope before choosing dimensions or accessories. Then compare proposals on the basis of an agreed layout, documented scope, and installation responsibilities.
Frequently Asked Questions
What should a bus shelter drawing include?
Include the shelter footprint, internal layout, openings, seating, boarding area, accessible route, curb relationship, utilities, and relevant site obstacles. Product drawings and site drawings should use compatible dimensions so reviewers can assess the installed arrangement.
Is an enclosed bus shelter suitable for every location?
No. Suitability depends on climate, circulation, visibility, ventilation, operation, and local requirements. Enclosure may improve weather protection while introducing doors, energy use, and additional maintenance tasks that the owner must address.
Which bus shelter design standards should be used?
Use the standards and requirements applicable to the project location and transit operator. Confirm the review responsibilities for accessibility, structural design, electrical work, and public-way installation rather than assuming one generic product standard covers the completed stop.
How should optional equipment be specified?
List each item with its location, required function, power or data needs, and maintenance responsibility. Ask for confirmation in the agreed specification; do not treat a promotional illustration as the final supply schedule.
To discuss a SunlitTec configuration, send the site plan and project brief with the location, intended users, available footprint, quantity, and requested equipment.